

Press Fingerprinting: Step-by-Step Guide to Reduce Variability and Save Costs
Variability in print production is expensive. Even small shifts in density, dot gain, or gray balance across runs can force extra makeready time, waste substrate, burn through ink, and trigger customer rejections. The previous post outlined those hidden costs—thousands per job in some cases—and pointed to press fingerprinting as the most effective way to eliminate them.
Fingerprinting creates a custom, data-driven profile of your press (or presses) under real production conditions. Once done, it becomes the baseline for consistent output, faster setup, and tighter GMI/G7 compliance. Printers who implement it properly report 30–50% reduction in makeready time and significantly lower waste.
Here is a practical, step-by-step guide to fingerprinting your press.
1. Preparation
Before any test forms run, define scope and gather baseline data.
Select presses and substrates — Start with your highest-volume press and the most common substrates (e.g., coated SBS board, BOPP film, kraft). Do not try to fingerprint everything at once.
Document current state — Record ink brand/batch, anilox rolls (line screen, volume), plate type and dot shape, press speed, drying settings, and any recent maintenance. Take density readings on recent jobs.
Choose test form — Use a standard IT8.7/4 or ECI 2002 target for ICC profiling, plus G7 control patches and brand spot colors if needed. Add your own control strips for ongoing verification.
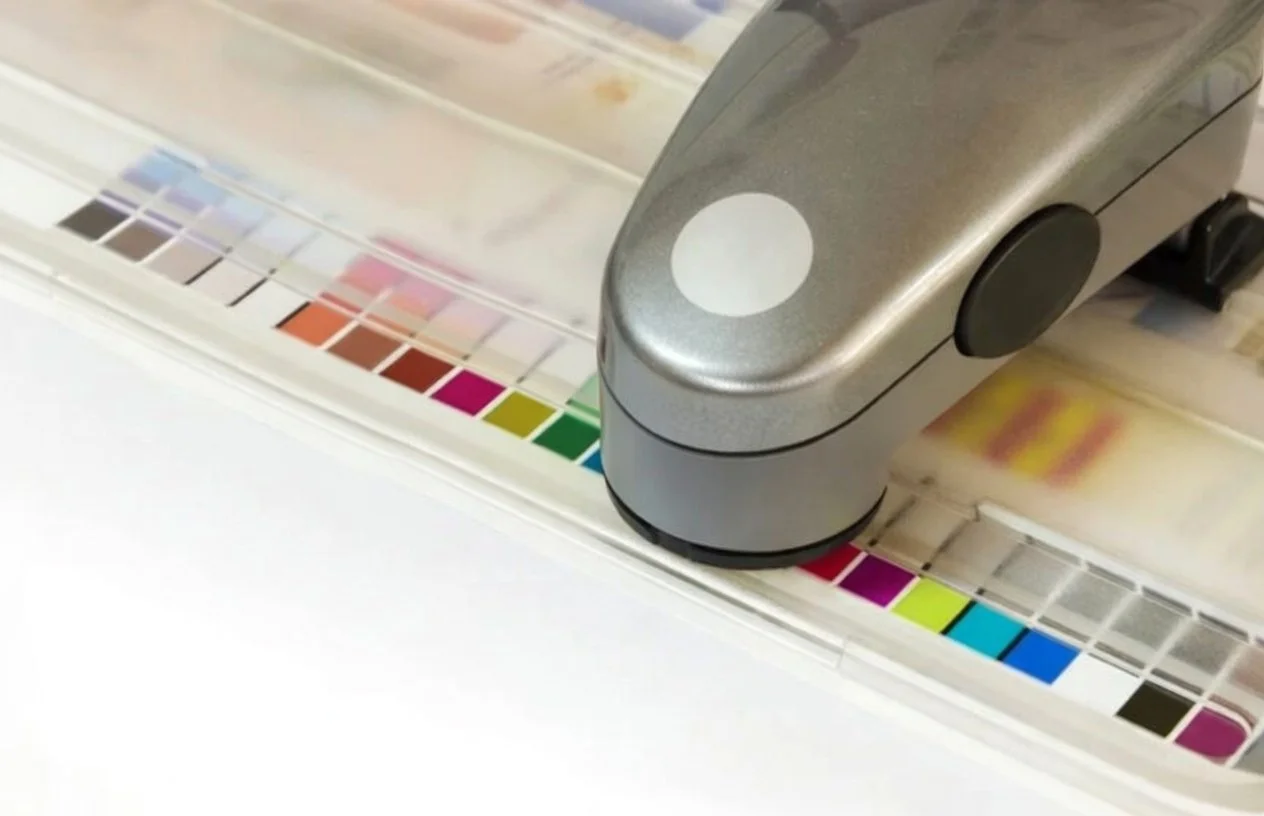
Calibrate instruments — Ensure spectrophotometers are calibrated and verified against reference tiles.
2. Run the Fingerprint Test Forms
Print the target under controlled, repeatable conditions.
Stabilize the press — Run 500–1,000 sheets of the substrate to reach steady state. Maintain consistent temperature/humidity.
Print multiple sheets — Run at least 3–5 full targets across the sheet (left, center, right) to capture lateral variation.
Control variables — Hold speed, pressure, and ink film thickness as constant as possible. Mark each sheet with run number, time, and operator.
Measure immediately — Use spectrophotometer to read patches while ink is fresh (within 30–60 minutes). Record Lab values, density, dot gain, trapping, and gray balance.
3. Analyze Data and Create Profiles
Turn measurements into actionable profiles.
Average readings — Calculate mean Lab values across sheets and positions. Look for variation > Delta E 2.0 or density swings >0.05—those indicate issues to fix.
Build ICC profiles — Use software (ColorCert, i1Profiler, basICColor, etc.) to generate device-link or output-intent profiles from the averaged data.
Apply G7 adjustments — If pursuing G7, adjust curves to achieve ISO gray balance on the substrate.
Validate — Print a validation target using the new profile and measure again. Delta E should drop significantly on brand colors and neutrals.
4. Implement and Monitor
Put the profile into production and keep it alive.
Update RIP/workflow — Load the new profile as the default for that press/substrate combination.
Create SOP — Document settings, verification frequency (e.g., weekly or per shift), and tolerances.
Monthly verification — Print simplified control strips using the profile. Measure and log. If drift appears, recalibrate or re-fingerprint.
Re-fingerprint triggers — New ink batch, anilox wear, blanket change, substrate supplier switch, or after major maintenance.
Real Results
A mid-sized folding carton printer we worked with fingerprinted their primary offset press and two flexo lines. Makeready time dropped 45% on repeat jobs, substrate waste fell by 38%, and GMI continuity scores stabilized above 92% for two years. The investment paid back in under four months.
Bottom Line
Fingerprinting is not a one-time project — it’s an ongoing system that turns press variability from a cost center into a controlled process. When done right, it delivers predictable color, faster makeready, and stronger retailer confidence.
Ready to turn press variability into a controlled process with accurate fingerprinting?
Use the contact form or call us at (941) 259-2100.